Use Geo-fences to track when assets are visiting designated locations as well as receive alerts when they enter or exit these locations
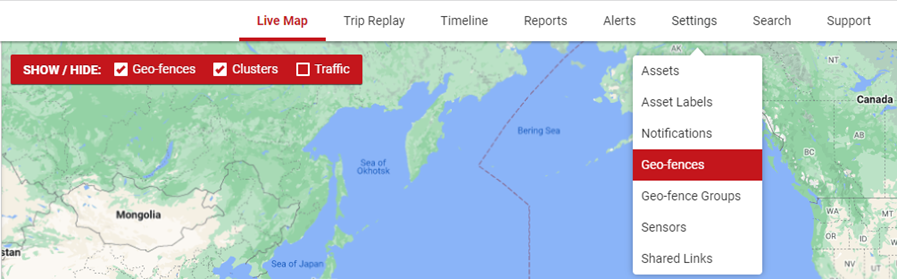
Hover your cursor over Settings on the top navigation bar and click Geo-fences.
Create a New Geo-fence
To create multiple geo-fences at the same time, see Geo-Fence Bulk Uploads
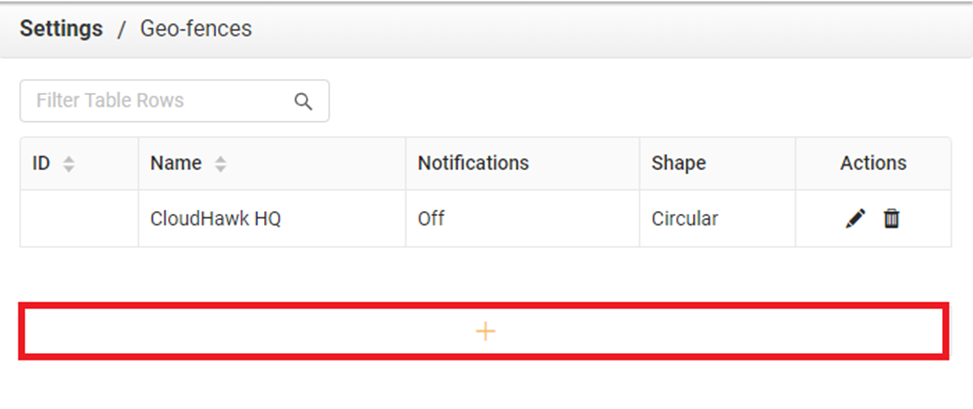
Click the + button at the bottom to create a new Geo-fence
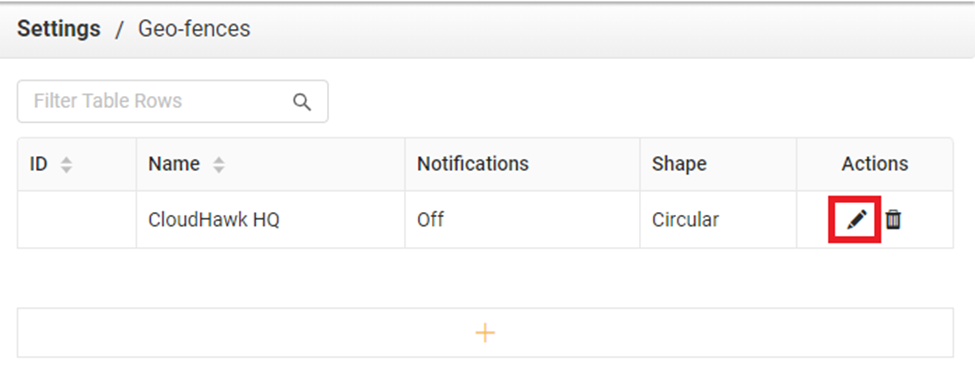
In this window you will be able to see all Geo-fences that you have created. If you haven't created any the list will be empty and the "+" icon will be higher up. Click on this icon.
Using either the circle or polygon drawing tool, create your Geo-fence in your designated location. When you are finished outlining your Geo-fence area click on the Confirm button.
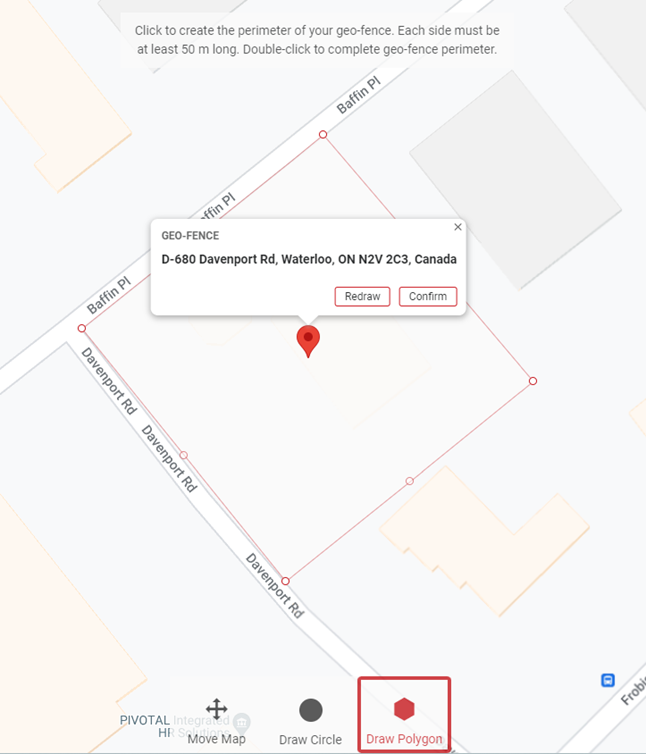
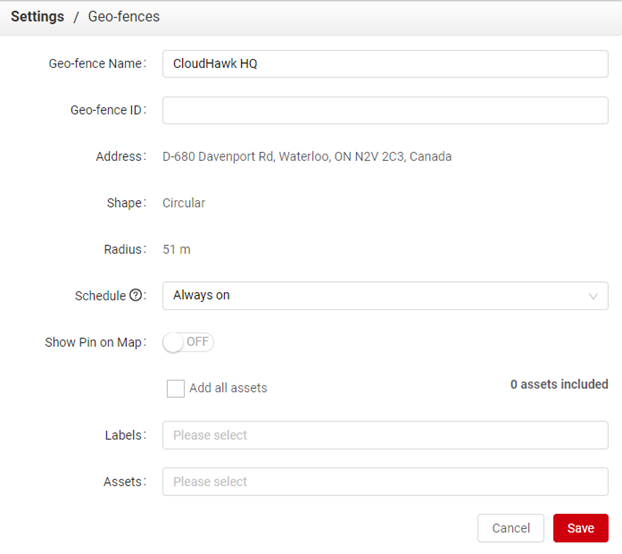
After you have outlined your Geo-fence on the map, the window below will appear. This window will allow you to configure settings for your new Geo-fence. You can also choose if you want to Show the Geo-fence Pin on the map or leave it off. Fill in the necessary information and click Save to complete your new Geo-fence.
Edit an existing Geo-fence & configure User Alert Settings
In the Geo-fences list, click the pencil icon under Actions
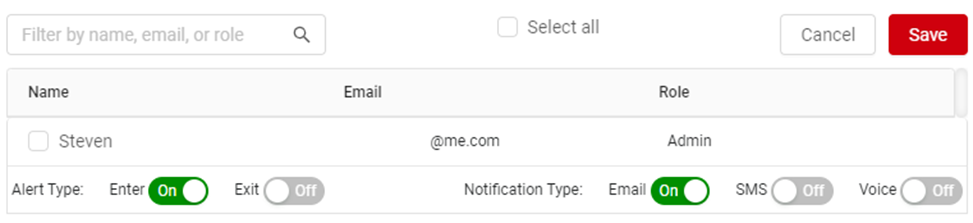
Here, you can modify all geo-fence settings and configure User Alert Settings to receive notifications via email, SMS, or voice phone call, when assets Enter or Exit the area.
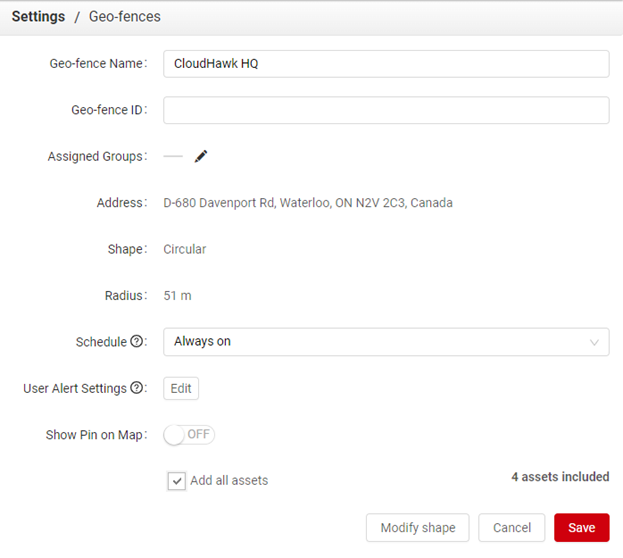
Click the Edit button beside User Alert Settings to configure alerts when assets enter or exit the Geo-fence.