Create several geo-fences at the same time using a spreadsheet template
In this article, we will show you how to bulk upload new geo-fences.
To perform this process, you must have a user account with the Admin role.
In the top-right corner of your CloudHawk Portal, hover your cursor over our name and select Admin.

Click Bulk Uploads. Here, you can review the required data fields to create new geo-fences and download the Excel template to start populating your data.
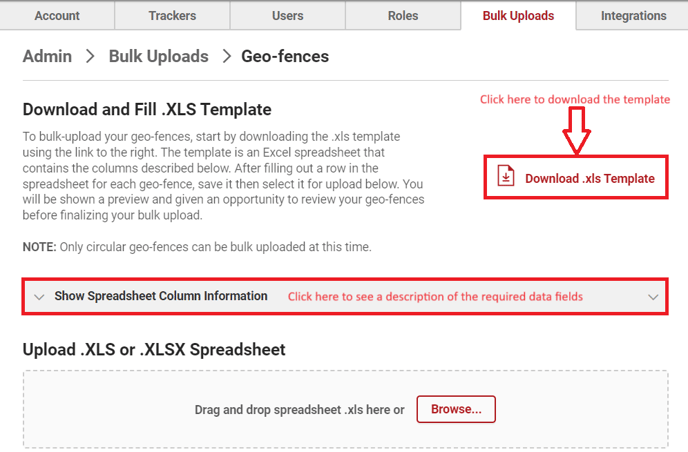
Download the Excel Template and populate your geo-fences like the example below.
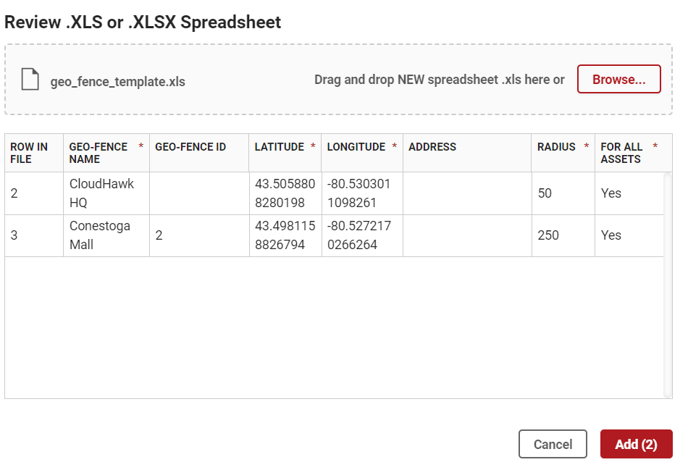
The Address field is NOT used to determine the location of the geo-fence. Only the Latitude and Longitude will determine the location of the geo-fence. Address is used only as an additional descriptor when viewing the geo-fence in the portal and on reports.

When you're done, save the file somewhere on your PC and either drag it into the Upload .XLS or .XLSX Spreadsheet box or click Browse... and select the file.
Review the results and click the Add button to complete the upload.