Learn how to replace an existing CloudHawk Tracker, such as with a new model, while keeping all tracking history from the previous tracker.
To perform this process, you must have a CloudHawk user account with the Admin role.
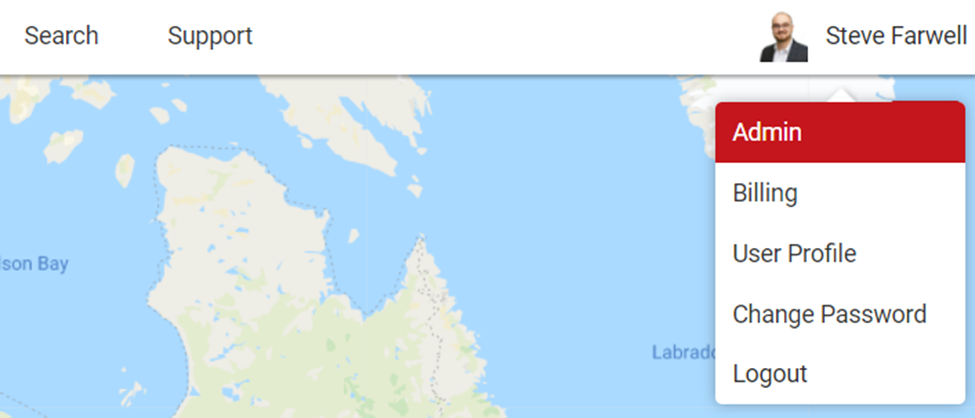
In the top-right corner of your CloudHawk Portal, hover your cursor over our name and select Admin.
If you do not see the Admin button, please contact your account administrator and ask them to change your role to Admin.
Select Trackers and hover over the Action button for the old tracker and select Replace.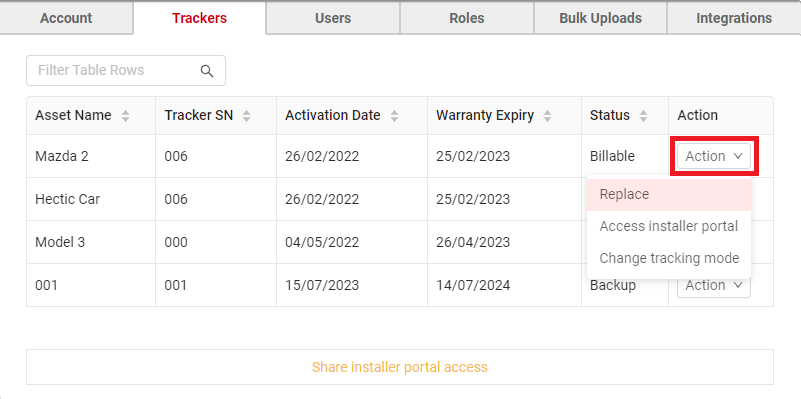
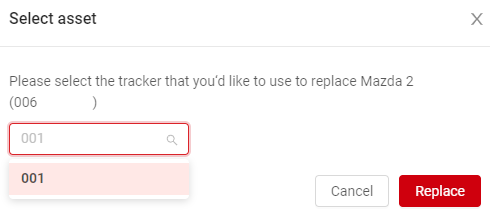
Select the serial number of the new tracker you’ve just installed from the list and click Replace.
The list will contain serial numbers for all trackers that are in Backup or Deactivated status in your account.
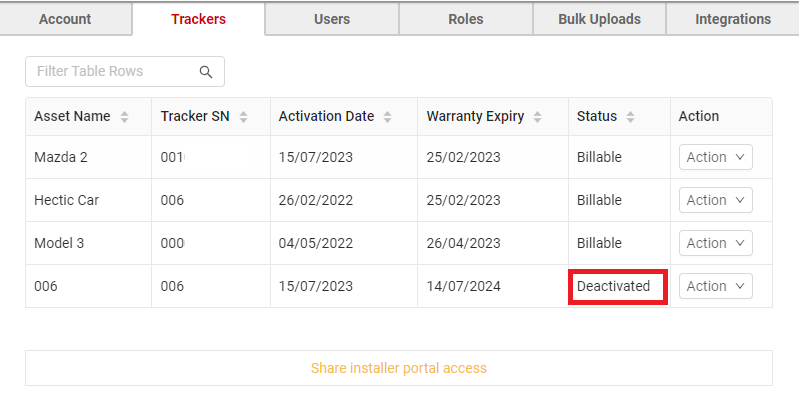
Your tracker list will now update to show the same asset name now tied to the new serial number you just selected. The old serial number will appear in the list with the Deactivated status.