Learn how to setup a CS101 Sensor with your CloudHawk Tracker to monitor temperature & humidity in real-time
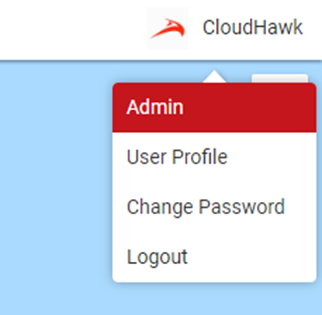
In the top-right corner of your CloudHawk Portal, hover your cursor over our name and select Admin.

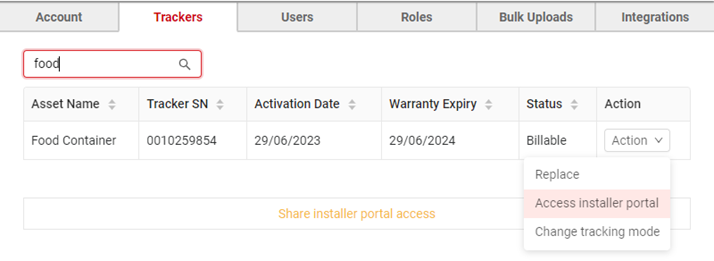
Click Trackers to view all of the trackers in your account.
Use the Filter Table Rows field to search through your trackers to find the tracker that will be used with the sensor. Beside the tracker that the sensor will be added to, use the Action drop-down and select Access installer portal.

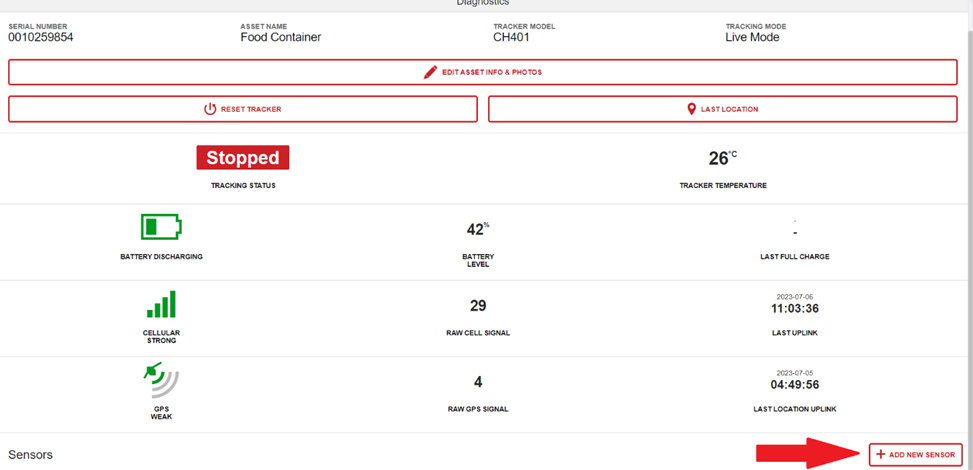
In the bottom-right corner, click + Add New Sensor.
You may need to scroll down to see the button.

Click Sensor to see the list of supported sensors. Select Wireless Temp Humidity Sensor. Click Sensor ID and select the MAC address of the sensor you would like to pair. This list will contain all CloudHawk CS101 sensors in your account. Finally, give the sensor a unique name (this will be displayed in the CloudHawk Portal) and click Save.

Ensure the sensor is within Bluetooth range of the tracker. Allow up to 30 minutes for sensor data to be reported in your CloudHawk Portal. You can also use the Installer Portal to view the most recent sensor data and timestamp for diagnostic/troubleshooting purposes.
